college

Morgan & the Hunter

After the weekend off and having nursed the copious amounts of food and alcohol out of my system, I was right back into my routine, with no less ambition and excitement than the day I started. Having my list of things to draw and having the day to think about it, I came up with a concept of what I wanted to paint. Knowing I wanted to create something regarding animals, I thought why not use my sister’s gorgeous pets as the basis for two characters, the cat named Morgan and the dog named Hunter.

I started off by sketching a rough outline of that of the positioning of the characters and with collecting some images of my sister’s pets, I got to work doing a composite.

Bashing multiple photos together from my photo album and google images, I was starting to see how the painting was coming together. Once I had everything I wanted within the image, I then used the smudge tool and a pen brush to give it a traditional painted texture, which I feel really started to tie the painting together.

Using multiple layers of highlights and darks, I started to build up some depth and detail of the painting. I was really pleased with how it was looking, which is always a relief as the first few stages of creating artwork this way can be a very sore sight, but yet again it was having faith in the process.

Looking at the finished image, I am pleasantly surprised with how it turned out. Due to this technique being one I haven’t used in quite some time, I was worried I had forgotten some of the tricks needed in order to pull the artwork together. However, it came pretty close to how I had visualised it within my head. In my opinion, I believe I managed to create two interesting characters in the form of my sister’s pets, even going as far as to name the duo Morgan & the Hunter. The duo are set in a post apocalyptic world, relying on each other for survival. Overall, I hope my sister enjoys the image just as much as I did creating it.

FMP Evaluation.

Bringing the end of a project also brings a long winded written evaluation on how i thought the project went and how my Statement of intent holds up against the final piece, so lets start by saying that the project brief itself was extremely enjoyable for me. I felt comfortable because it was a field i am familiar working with however it isn’t at the same time as i have never really delved into the world of animation or created a moving picture. The feeling of comfort stems from research and methods of development that i have used over the past 3 years which i have used in this FMP, being familiar with the artists i have researched and since it is something i have always been interested in i’ve always been eager to learn more about the subject and that is why i enjoy it, also because i start in higher education in september studying Animation with Illustration and i thought it would be a good time to start jumping into animation now.

I figured that every stage of this project i enjoyed, not at one point have i stressed myself out about it i was always excited to start working on it and moving onto the next stage in the project. The research stage was fun because its something i am extremely familiar with as its a stage i have visited many times before in every project i have done in the past 3 years along with the development stage using methods that John had taught me in year 2. The research stage went well, i managed to churn out 6 A3 pages illustrating and showing that i have taken time to research each aspect of the project from nursery rhymes, to the story itself about Humpty Dumpty and others like animation methods and how to animate each sheet looking different from the last and showing my artistic knowledge and skill.

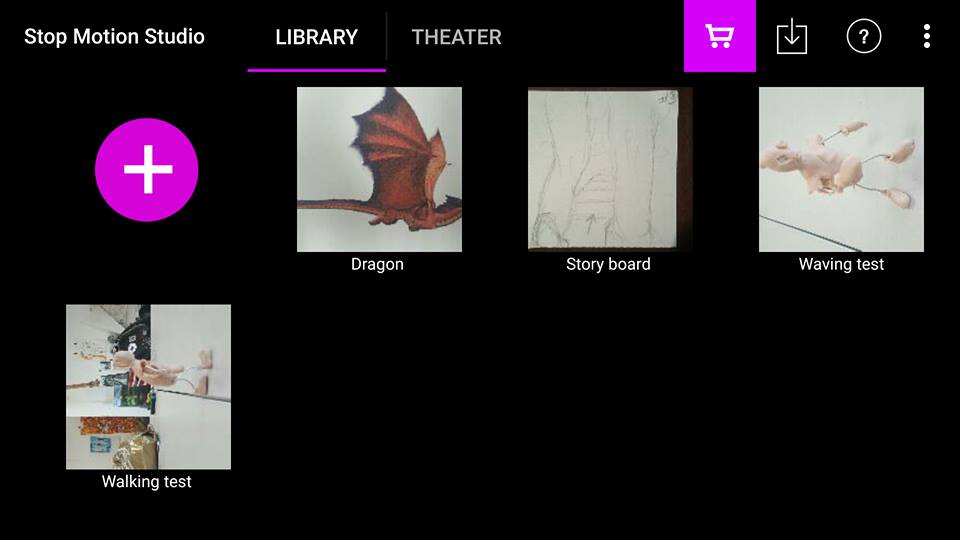
Debating a method of animation at the beginning was proven difficult as i had no knowledge on either all i knew was that each method was time consuming, these methods being 3D stop motion animation and 2D drawn animation until i was introduced by my brother the sliding 2D animation method which was the method i ended up choosing. however using the app to show that i have taken into account each method and tested each method to finalise my decision.

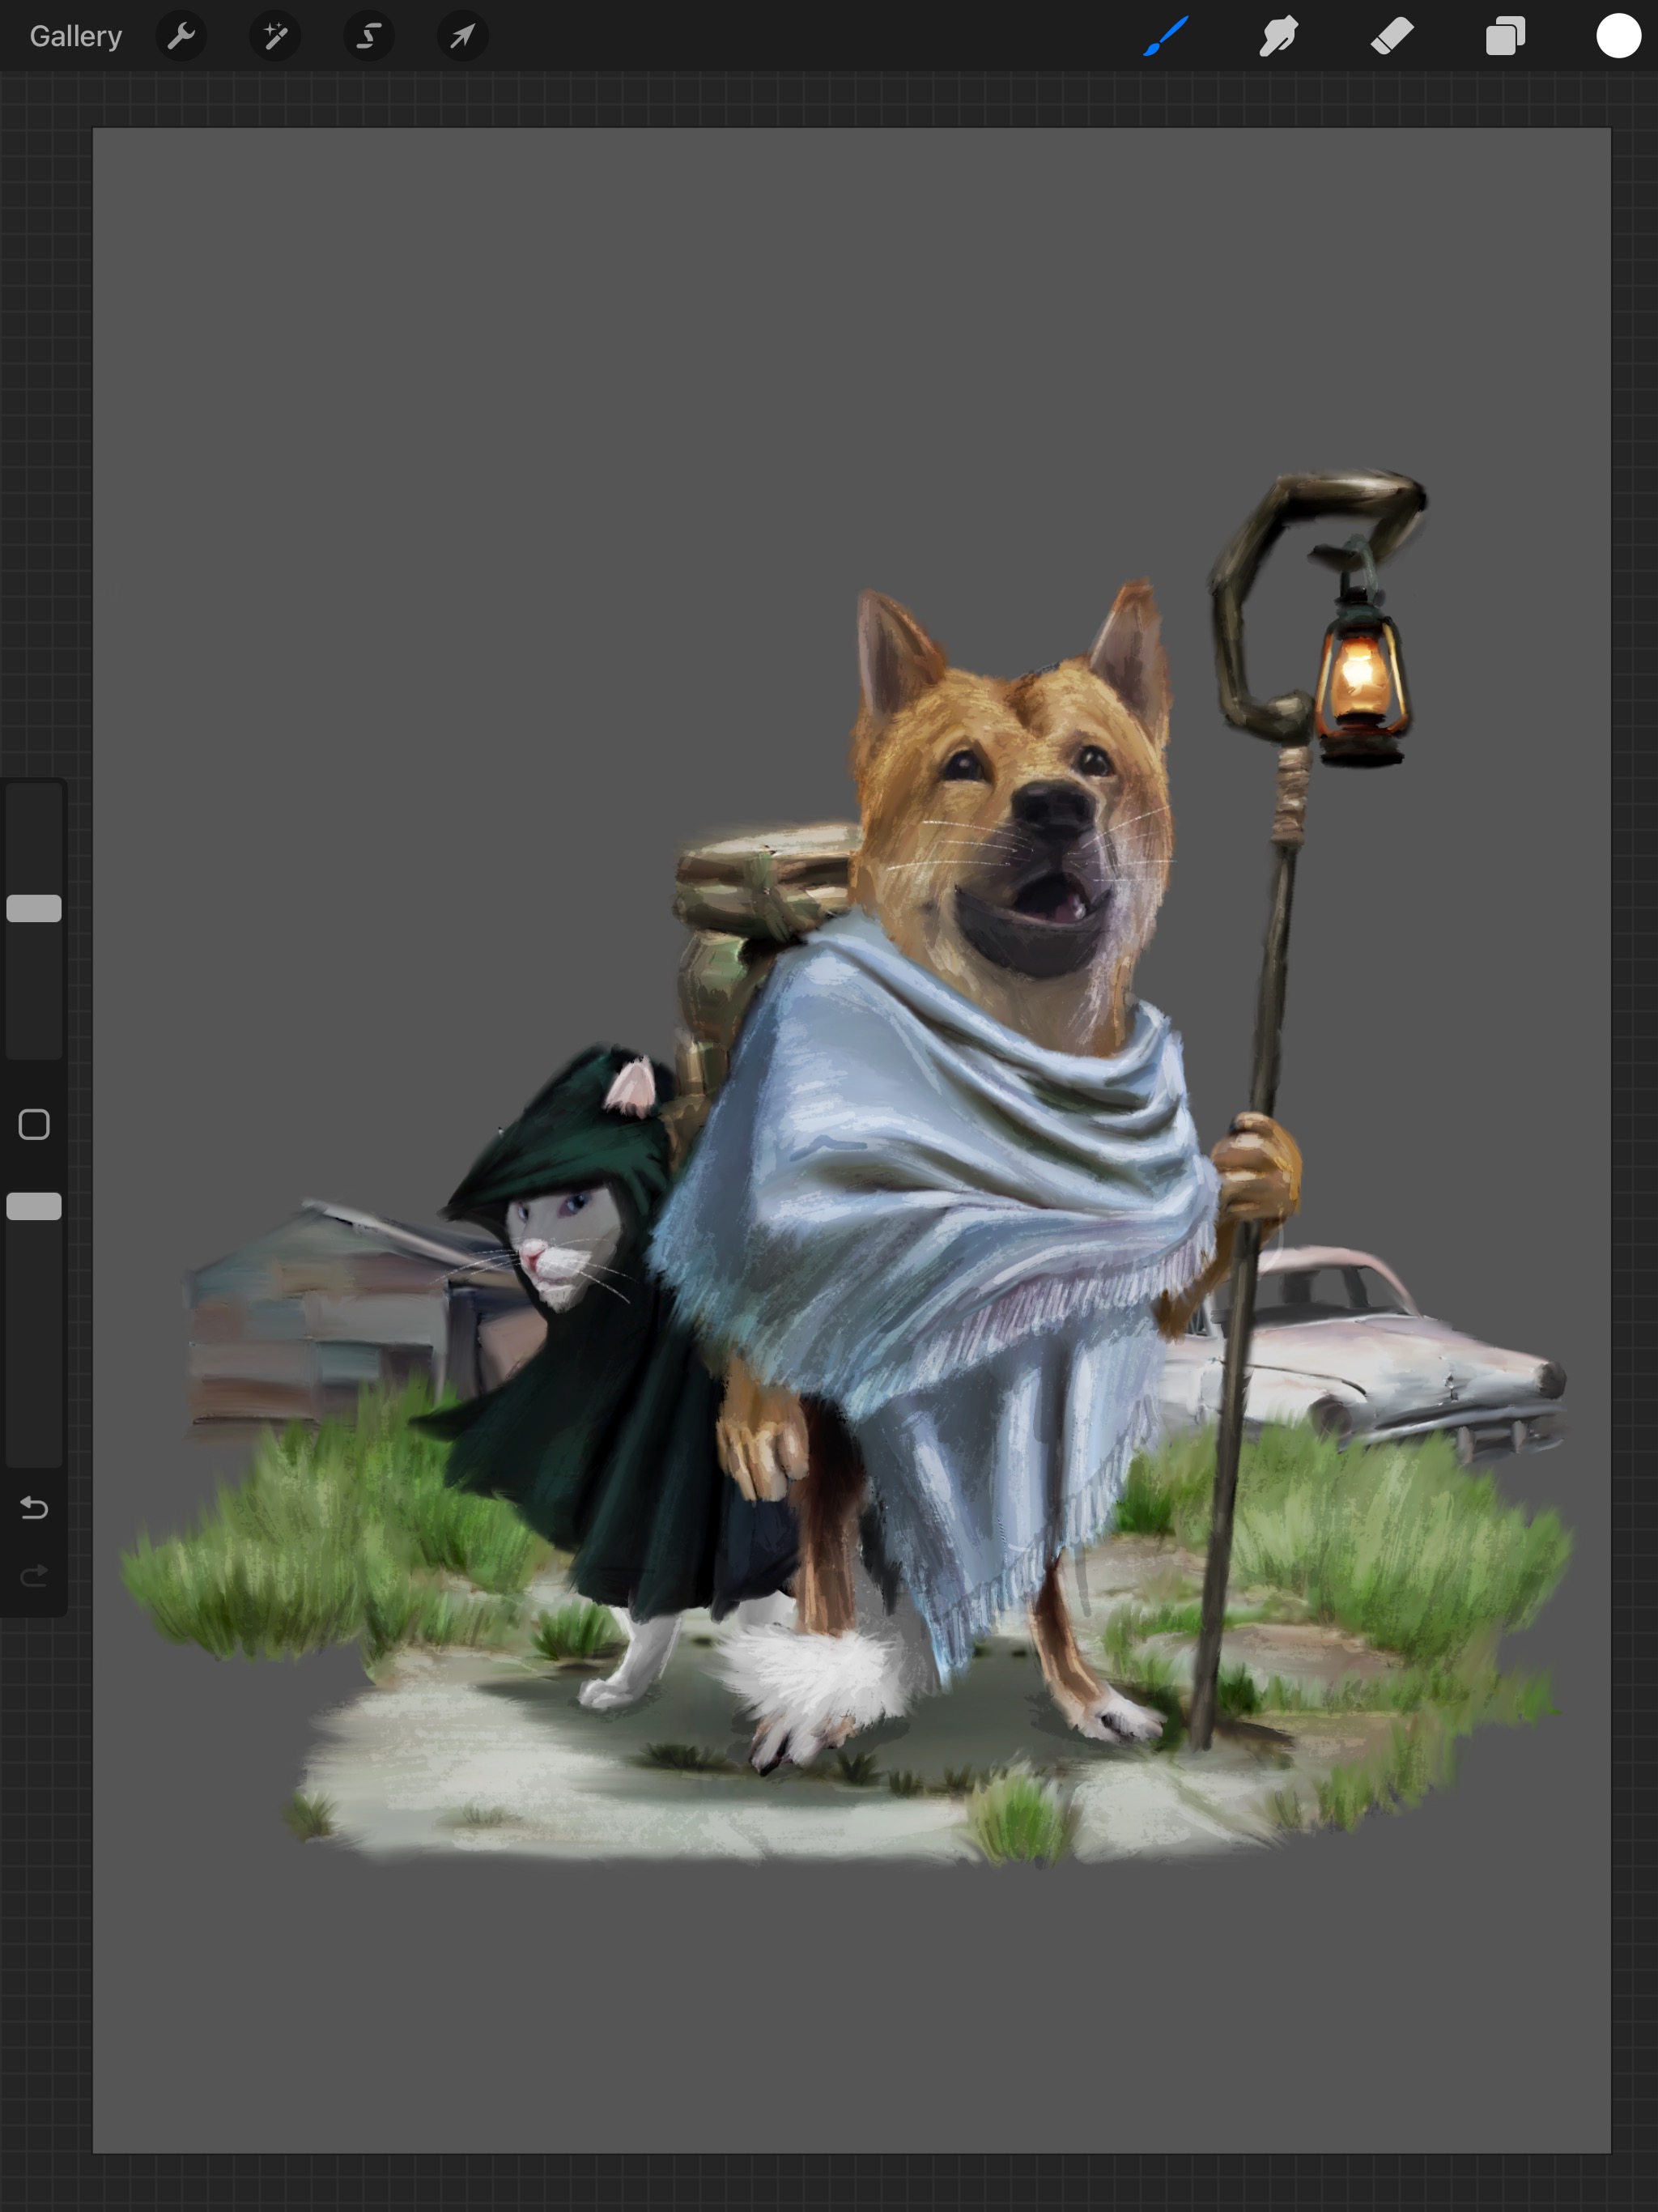
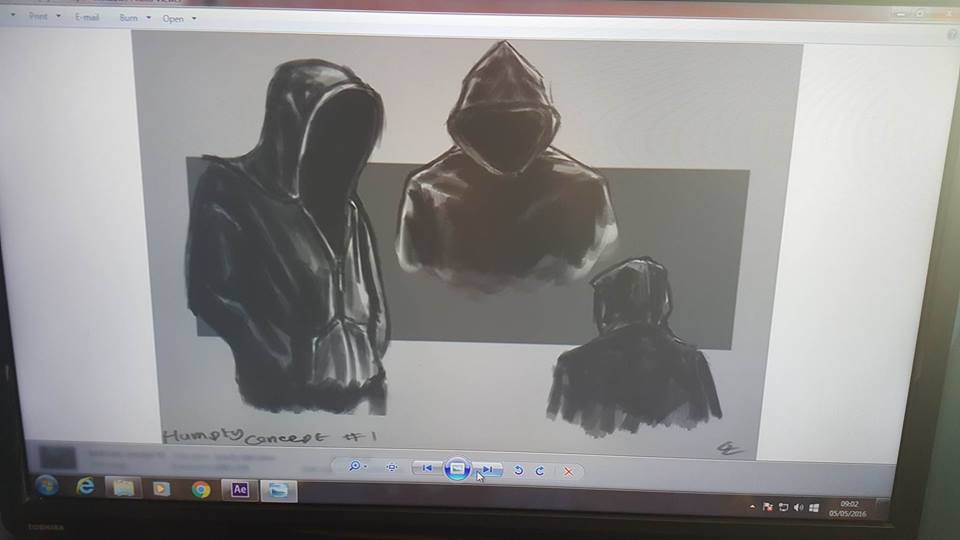
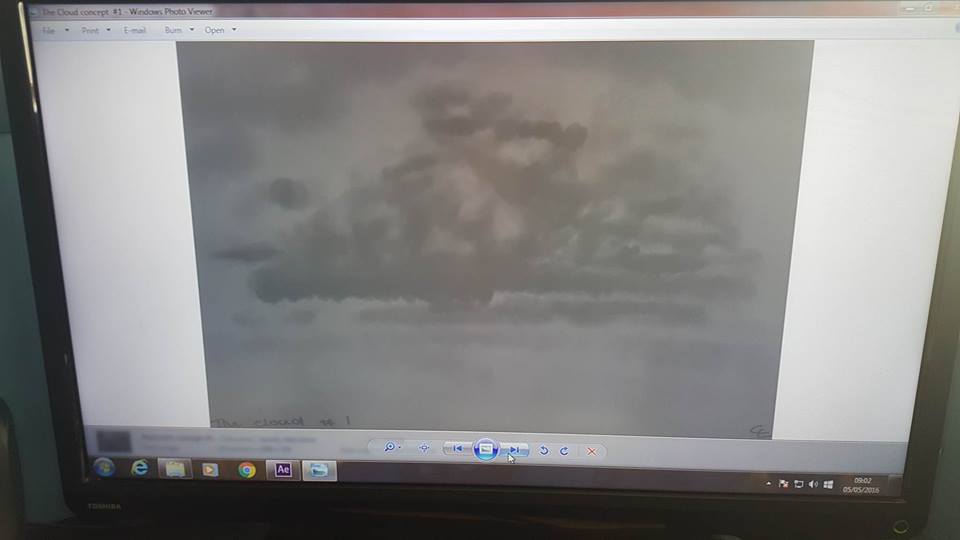
The conceptual art stage of the project was a personal favourite of mine, as it is what i strive for in a career i felt comfortable to give it my all in each piece as i am familiar with the software i use being Photoshop and the equipment i use being a Wacom 13Hd which i newly purchased and is what i did this entire animation on which was an absolute joy. i used my past experience and personal favourite concept/commercial concept artists to help me illustrate my ideas and to be the best quality they can be, them not being commercial quality wasn’t an issue as long as the general idea for development is there and  the consumer can see that thats all that matters.

Moving onto the story boarding stage, as this isn’t really a stage i have visited before i asked my brother for help as he is experienced in this field and suggested that i story board on sticky notes so i can change the order of them to what i deemed fit, as i didn’t have any sticky notes laying about i cut up a few A4 pieces of paper and got to rough sketching out the idea, i enjoyed this stage because it wasn’t really about the quality of the work it was about getting your ideas out there, this meant i could explore possible routes i wanted to take the story down which ended in the story that is in the animation. The end result was a total of 30 slides, i later narrowed that down into 20 slides that i deemed to be the most important as the slides or scenes in-between i thought were wasting time or just further illustrated a point i already made which again was wasting time, these scenes then went on to be painted with a bit more of a quality check and a little more commercial for the film.

Putting the animation together was a little pain staking but fortunately the software i used Adobe After Effects was extremely easy to use, it took me a maximum of 10-20 minutes to understand the software and i was on my way to animating it, in a matter of 4-5 hours i was already half way through animating it as i had painted all the frames beforehand which saved me jumping in and out of photoshop and adobe to paint and animate. Finishing putting the scenes next to each other and dubbing music over it and watching it all come together made these past 6 weeks worth the planning, development, and research as it was exactly how i imaged it, granted i was hoping for a little more movement and frames to show the character actually moving but like i mentioned in a recent post it was all down to the time frame i had left.

The animation itself is smooth and i couldn’t be happier with the music choice i dubbed it fits the dark theme of the tale perfectly and strikes an unsettling nerve with the viewer as does the dark grungy colours and tone of the animation which i am excited to see and hear peoples feedback at the exhibit later next week. it has already received positive feedback from friends, family and tutors and i myself am proud with the finishing product. It perfectly portrays the inner workings of my mind when telling this nursery rhyme, given if the time frame was not a factor i would of had more time to define it and polish it off a little more however i am perfectly satisfied with the outcome and as a result am excited to showcase it.

Animating.

Now that everything is done in regards of research and development it was time that i sought out to getting a crack on with my animation, which required me to paint 20 scenes individually on photoshop. I narrowed the story board down to 20 scenes or frames that i felt were the most important and told the story well and i didn’t want pointless scenes taking up time on the animation when i could be making a more important scene look better. once the scenes were painted i threw each of them into Adobe After Effects and got on animating with it, i didn’t have much to play around with when i used my brothers scenes but i got the gist of it once the ball was rolling with animating it. i decided that it would be best if i painted all 20 scenes first and then added them to Adobe and animated them as that would shave off a lot more time to render it and finalise it.

I managed to finish a first draft and once that was done showed it to a few family and friends for some feedback and constructive criticism and since my brother has a degree in animation and graphics who better to get it from than him, he offered some tips and small adjustments that he thought i should add to the animation as i did which i think polish it off, all thats left are for an extra few bits and bobs and for it to be shown in the college end of year exhibit.

Sampling

Now that im actually getting a crack on with my animation it was time that i completed the sampling to which method of animation i am choosing, as i’ve already decided and explained which method i am doing i thought it would still be best for my reflective diary that i show some evidence that i at least tried the other methods and here they are (i unfortunately couldn’t upload media so screen shots of me using the app will have to do i apologise.) 13187903_10206073495051596_65367989_n.jpg

Each of these samples arent very long at all ranging from 1- 10 seconds long of drawn 2D animation from stop frame 3D animation which are the methods i talked about testing in my statement of intent.

13181197_10206073585613860_408576682_n.jpg

This one being the 2D drawn animation of a dragon flapping its wings came out well and it would of been a method i would of happily chose to take further however as of the time scale i had left after designing and planning this idea was ruled out but overall something i would like to look further into in the future.

13180908_10206073585493857_1762435253_n.jpg

As for the 3D stop motion animation it was extremely fun to do, i got so invested in creating this character that stared in both of these animations which i will describe in a further future post, the time it took to make these videos and the character was not long at all as you can probably tell however also got rules out again by the time scale left which is a shame because the character creation and designing aspect of this method i really got into as to my 3D past in college

13187823_10206073531532508_397025319_n.jpg

The first screen shot of this character was a small gesture of him waving, i didn’t want to drag on the animation it was just to get a general feel of how fast and far to move him and how many frames it would take to make it look less rushed or sped up, the second screen shot if of my character simply walking along the screen which was a little more difficult that i had expected although i got there, i had to use raw super sculpey on the bottom of his feed to keep him in place and used the headphone jack cable to keep the camera propped up in the crevice of the table as you can tell why the crevice is almost dead centre of the video.

I think that these clips are good in the sense that they show my experiments using each stage however they lack passion and preciseness but then again thats due to the small amount of time i had to choose a method and then get animating which is the stage i am onto now.

Concept Art.

Behind any great idea there is development and ideas, this is where my ideas started. these quick sketches were roughed up to just show the general idea and what was going on through my mind through the development stage of my animation. They were done on photoshop with my graphics tablet. 13162556_10206029842120300_1219214232_n.jpg

Since my animation is based upon the tale Humpty Dumpty with a dark twist i wanted my main character to be as minimal as possible as it is not about the character it is more about the story and what the story represents (cliche i know).

13115508_10206029819199727_760472623_n.jpg

The weather In the animation will also play a big part, so i did a few paintings of the clouds , big dark objects hanging over the main character as a metaphor.

13183255_10206029841560286_389831490_n.jpg

The bedroom the character awakens into, as you can see each of these paintings are rough like i said but it was to just quickly sketch out the ides and visions i had before i forgot and the disappeared into the back of my memory so i do apologise on that front.

13153475_10206029823799842_45996096_n.jpg

And last but not least the famous wall our humpty dumpty sits upon, The idea being it resembles him sitting on the edge of a huge antidepressant bottle which you aren’t supposed to know yet (shh). the paintings and the ideas i am happy with however looking back at them i had wished i added a little colour just so you can distinguish the different objects in the paintings to make them a little more easy to observe however they are still observable so overall it was a productive day.

Getting to know the software.

As the deadline for the hand in date draws nearer and nearer i have finally decided on a method of animation which will be still frame animation which requires single still images sliding/fading in and out/ growing smaller or larger. it is a simple method of animation however due to the time frame i have left i feel as if its my best option. Luckily for me my brother has graduated from Huddersfield university doing animation and illustration so he has been offering me a helping hand and teaching me how to use the software, the software being Adobe After Effects. After messing around for a few hours on a few old photoshop files he let me use it has become apparent to me that the software is pretty simple and easy to use, it simply requires your painted photoshop files on different layers (the layers you want to animate) and choose a time on the time line you want it to move to and boom, done.

 13162547_10206023657165680_1239108670_n.jpg

I was also using his Wacom Cintique tablet which has been a great help to me over the past few months just doing my own pieces of art But recently i have purchased one for myself to take with me to uni, the Wacom Cintique 13HD was delivered to me sunday the 8th and what an improvement it has been taking in mind i have been using the wacom Bamboo tablet, it is much more hands on, precise, sleeker and in full 1080p i can go all out on my paintings and i can’t wait to get started on a project for university on it later this year, even though i am using it to finish off the rest of this project on Photoshop and Adobe.

Sticking things down.

Since my project takes place mostly on a computer and not in the college studio, when I do spend time in the college studio it consists of me cutting, sticking, printing off and creating artist pages or doing more research. So as you know the process of an artists page I had to stick down the 30 slides of my story board I had

image

Because they all couldn’t fit onto one face of an A3 sketchbook I had to create extra flaps that fold out sort of like a pop up book;

image

Because I can’t upload these individual slides onto here I had to stick it into my Contextual book along side with all my drawings for this project and artists research. I later went back to It and thought I’d spruce it up a little by just adding the title so when someone is observing my book they actually know what they’re looking at and not just 30 slides of a random story

image

Considering the time it took to put this page together which was overall 30 minutes I am pretty pleased with It, it was the lettering that took the most time which I did with black paint which was just a joy to use it really was, I may have to buy some.

Artist pages.

Still in the topic of my Contextual book I have grabbed a few artists and companies of my liking and interest that I have decided to stick onto my Contextual book as research and reference them. Choosing these artists will help me define my animation as I will reference them and use techniques similar to the artists/animators

image

This is a progress shot of how the method is done by cutting up the animator/artist and in this case Matt groening, i also add in some written work about how the artist influences me and so on. One problem I have with these artist pages is the use of water colour, the water colour is simple and easy to use and not messy as you would expect however the colours seem bland and washed out, I have to stick pages together back to back to strength it and make the colours more vibrant otherwise the pages sharing two different colours on each face lose strength and merge together to make a dull grey colour, sure this method gives each page a little more strength but trying to keep the pages stuck together can sometimes be tedious.

The front page

Going down to my local Wilkos I popped in to buy an A3 sized sketch book for my Contextual work such as samples; artists, and companies I have researched, so the big question for me was what would the front page look like? I decided to reprint off my statement of intent and cut that up and spread it along side two pages of A3 as a bright and colourful front page describing to the reader what my intentions of this project are.

image

I am happy with how the page turned out as I don’t really do this type of thing, I grabbed some images off pinterest that I hadn’t posted into my research sheets and added a few splashes of colour and for a front page I am pleased with, all the information is there explaining what I’m doing it just needed some visual aid to help get the point across and make it a little more exciting and interesting.

Some early preperation.

As this is a subject I haven’t really delved into yet I cant help but feel a little bit nervous that I wont be able to meet deadlines as I am so inexperienced in this field, I have e rough estimate of how long each method of animation may take but im never too certain. so to calm my own nerves I decided to do a little on-line shopping for some rigs to prop up my phone to film with, I also took a browsing on the Google play store to see what animation apps I could use and i managed to find a brilliant one for free! however I am thinking of investing into the pro version as it would be more beneficial t the project with all the features of the app unlocked for me to use. This is the app for all those interested

12957239_10205844882216418_722458224_n

Stop Motion Studio and the features it holds are professional, I did some test footage messing around with objects and im excited to start using this app to its fullest capabilities. In regards of the rig i was thinking of using an old phone case and gluing the screw that fits into camera tripods onto it, this would save me money and if im making my own it’ll be tailored to my needs and the camera angles I need to achieve so that’s something to think about.